A rental HVAC problem rarely starts with a complete shutdown. More often, it starts with a tenant saying one bedroom feels warm, a utility bill climbing without explanation, or water appearing near the air handler. Knowing how to inspect rental HVAC equipment helps you catch those early signals before they turn into a no-cooling call, property damage, an unhappy tenant, and a rushed repair bill.
For Marion County rental owners, HVAC inspections deserve more attention than a quick look at the thermostat. Florida heat, long cooling seasons, humidity, pollen, and clogged condensate lines put steady strain on a system. A consistent inspection process protects the equipment, keeps units rent-ready, and gives you a written record of the property's condition.
Inspect at the right times
The best HVAC inspection is not the one you remember after a tenant reports no air conditioning. Build it into your operating routine. At a minimum, inspect the system during every turnover, before the hottest part of the year, and when a tenant reports weak airflow, unusual noise, leaking water, odors, or uneven temperatures.
A vacant turnover inspection is your best opportunity to see the whole system without interrupting a resident. You can check the thermostat, filter, vents, air handler, drain line, outdoor condenser, and visible ductwork in one visit. It also establishes a clear baseline before the next tenant moves in.
Occupied properties need a more focused approach. Give proper notice, ask whether the tenant has noticed hot rooms or water around the unit, and make sure access is available to the thermostat and indoor equipment. A five-minute conversation can point you toward a developing issue that is not obvious during a short visual check.
Prepare before you open a panel
Start with the property file. Review the system's age, prior service notes, repair invoices, filter-change history, and tenant maintenance requests. If the same unit has repeatedly needed drain clearing, capacitor replacement, refrigerant service, or thermostat adjustments, that pattern matters. It may signal a repair that was treated as a one-time event when the underlying problem was never addressed.
Bring a flashlight, clean filters in the correct size, a phone or camera for photos, and a simple inspection form. You do not need to disassemble equipment to conduct a useful owner-level inspection. In fact, removing electrical panels, testing live components, or handling refrigerant is work for a qualified HVAC professional.
Before touching anything, look for immediate safety concerns. Stop the inspection and arrange service if you smell burning, see scorched wiring, notice a damaged disconnect box, find standing water near electrical components, or hear loud grinding or metal-on-metal sounds.
How to inspect rental HVAC step by step
Start at the thermostat
Set the thermostat to cool and lower the temperature several degrees below the current room temperature. Confirm that the display is working, the system calls for cooling, and the indoor blower starts. Then allow enough time for the outdoor condenser to engage.
Do not judge performance only by whether the screen says "cooling." Walk through the home and confirm that air is actually moving from supply vents. Airflow should be reasonably consistent from room to room, though larger homes, two-story layouts, and rooms with long duct runs can vary. A hot bedroom may be a closed vent, a dirty filter, duct leakage, poor return-air design, or an equipment issue. The inspection should identify the symptom, not assume the cause.
Check that the thermostat is secure on the wall and not exposed to direct sun, a nearby appliance, or a supply vent blowing directly on it. Bad placement can make a good system cycle poorly.
Check filters, returns, and supply vents
A neglected filter is one of the most common and preventable causes of rental HVAC trouble. Remove the filter and inspect it in good light. If it is gray, packed with dust, bent, damp, or visibly clogged, replace it. Confirm the replacement filter has the correct dimensions and is installed in the direction of airflow shown on the frame.
Avoid choosing the most restrictive filter without considering the equipment. Very high-efficiency filters can reduce airflow in some systems if they are not suited to the unit. For many rentals, a quality pleated filter changed on schedule is a practical balance between air quality and system performance.
Look at return grilles and supply vents while you are inside. Furniture, rugs, tenant belongings, and closed interior doors can restrict circulation. Note damaged or loose vent covers, excessive dust buildup, dark streaking around registers, and any rooms with noticeably weak airflow. Do not promise duct cleaning or replacement based on appearance alone, but document what you find for further evaluation.
Inspect the indoor air handler and drain system
The indoor air handler, furnace closet, or utility-room equipment often tells the clearest story. Look for water on the floor, rust on the cabinet, staining below drain connections, insulation damage, or biological growth around the drain pan. In Florida rentals, a clogged condensate drain can quickly become a ceiling, wall, or flooring claim.
Confirm the condensate drain line appears secure and properly routed. If there is a float switch, verify it is present and not bypassed. A float switch can shut the system down when a drain backs up, which is inconvenient for a tenant but far better than allowing water to overflow.
Listen while the system runs. Light airflow and a normal blower sound are expected. Rattling, squealing, banging, persistent buzzing, or repeated starts and stops should be documented and referred for service. Also look for frost or ice on accessible refrigerant lines or the indoor coil area. Ice is a warning sign, not something to ignore until it melts.
Walk outside to the condenser
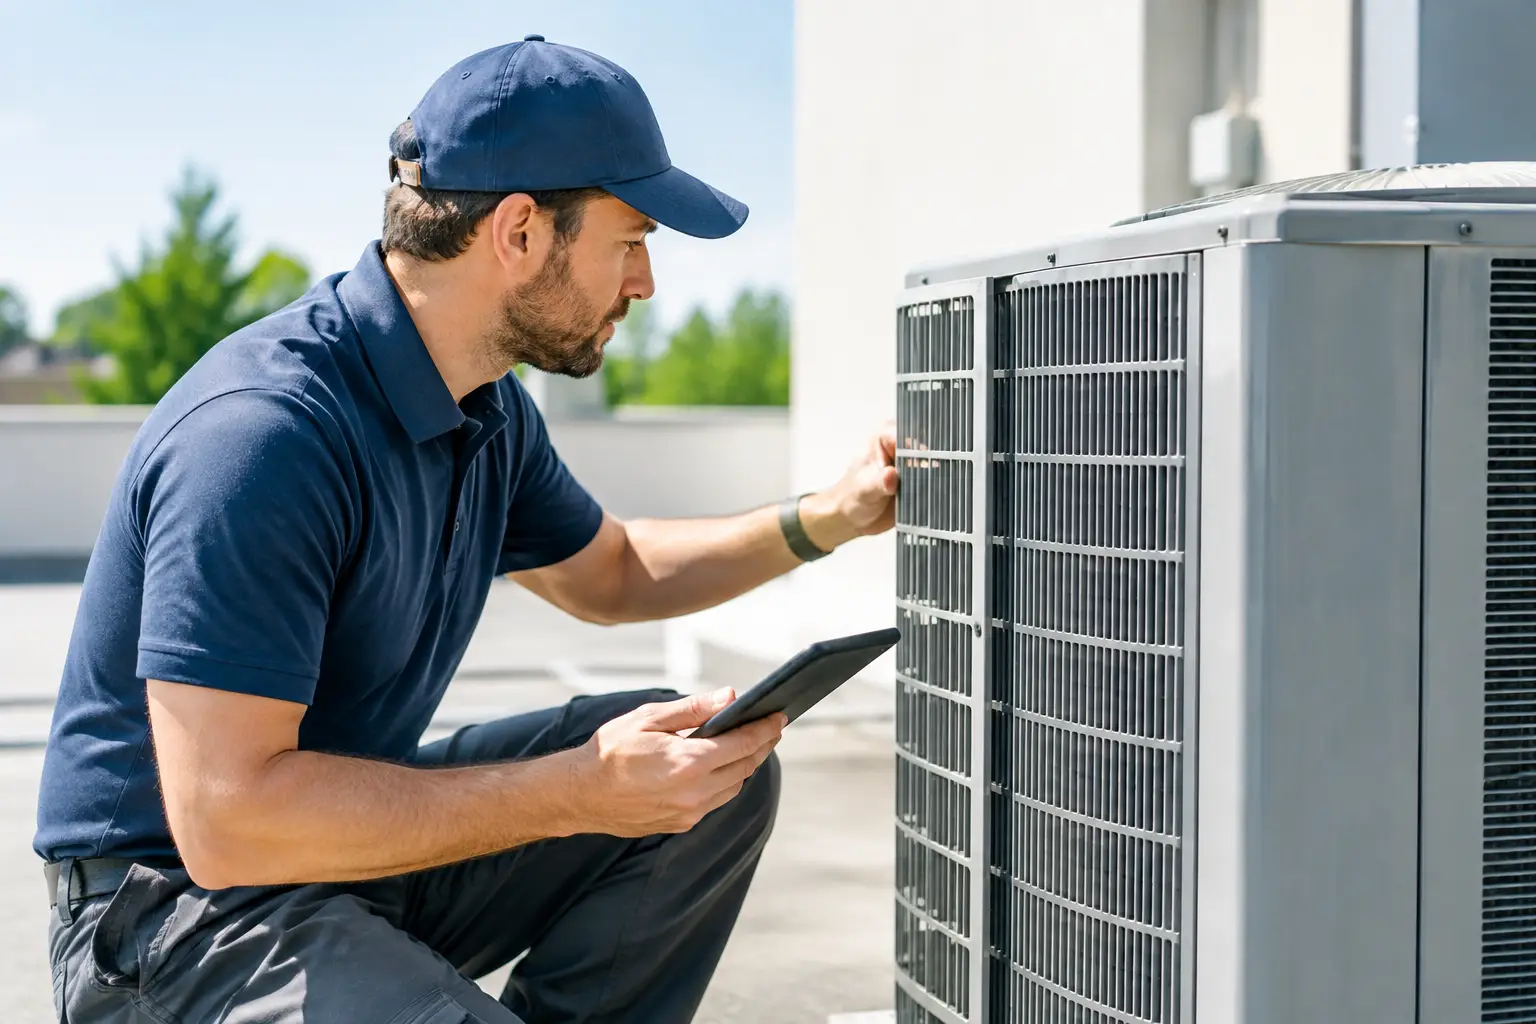
At the outdoor unit, first make sure the equipment has clear space to breathe. Grass clippings, leaves, mulch, vines, stored items, and shrub growth can block the coil and trap heat. Clear light debris around the unit, but do not use a pressure washer on the fins or bend the coil trying to make it look new.
Check that the condenser sits level and that its cabinet, fan guard, and refrigerant line insulation are in good condition. The fan should run smoothly without severe vibration. Inspect the electrical disconnect area visually for damage, but do not open it unless you are qualified to work on electrical equipment.
Pay attention to the refrigerant line insulation. Deteriorated insulation is common in the Florida sun and can reduce efficiency. It is usually a straightforward repair, but it should be addressed before the exposed line becomes a larger performance issue.
Red flags that need a professional service call
An owner or property manager can complete a strong visual and functional inspection, but some conditions should move directly to a licensed HVAC technician. Schedule service when you find:
- No cooling after the thermostat calls for it and the equipment has had time to start
- Ice on refrigerant lines, the indoor coil area, or the outdoor unit
- Repeatedly tripped breakers, burning odors, buzzing, or damaged wiring
- Water leaks, a clogged condensate drain, or signs of recurring overflow
- Loud grinding, screeching, hard starting, or severe vibration
- Warm air, weak airflow throughout the home, or major temperature differences between rooms
Do not add refrigerant because a system is not cooling. Refrigerant does not get "used up" under normal operation. Low refrigerant can indicate a leak, and the right repair depends on the system's condition, the location of the leak, and the age of the equipment.
Document what you found
Documentation is what turns an inspection into useful property management. Take date-stamped photos of the filter, thermostat setting, indoor equipment, drain area, outdoor unit, and any issue you observed. Record the filter size, visible condition, thermostat response, whether the unit was cooling, tenant comments, and the next action required.
This protects everyone. Owners can see why a repair was approved. Tenants have a record that their concern was addressed. Maintenance teams have a clearer starting point if the issue returns. It also helps you decide whether a unit needs another repair, a preventive service visit, or a replacement plan before peak summer demand.
For owners who do not have time to coordinate multiple vendors, R&M Services can combine HVAC checks with turnover work, general repairs, and documented property inspections so small issues do not get lost between contractors.
Set a schedule that fits the property
Most rentals benefit from a professional HVAC maintenance visit at least once a year, with filter checks more often based on occupancy, pets, construction dust, and the filter type. In Florida, a pre-summer inspection is especially valuable because equipment works hardest when the outside temperature and humidity rise together.
Older systems, high-turnover rentals, homes with pets, and properties with a history of drain backups may need more frequent attention. There is no value in over-servicing a healthy unit, but there is real cost in waiting for a preventable failure during a heat wave.
A rental HVAC inspection is not about making the equipment look spotless. It is about confirming that it cools, drains, breathes, and operates safely - then acting on the issues that could interrupt rent, damage the property, or leave a tenant without comfort when they need it most.