A vacant unit costs money every day it sits unfinished. The fastest way to lose control of a turnover is to start repairs before anyone has completed a thorough make ready inspection checklist. Small issues get missed, contractors duplicate work, and the unit reaches the finish line with a leaking faucet, weak air conditioning, or a damaged screen still waiting for attention.
For rental owners in Ocala, Dunnellon, and across Marion County, a proper inspection turns a turnover from a scramble into a controlled job. It identifies what is tenant damage, what is normal wear, what needs immediate repair, and what should be scheduled before the next resident moves in. Just as important, it gives you a clear record of the unit's condition and a practical scope of work.
Make Ready Inspection Checklist: Start With Evidence
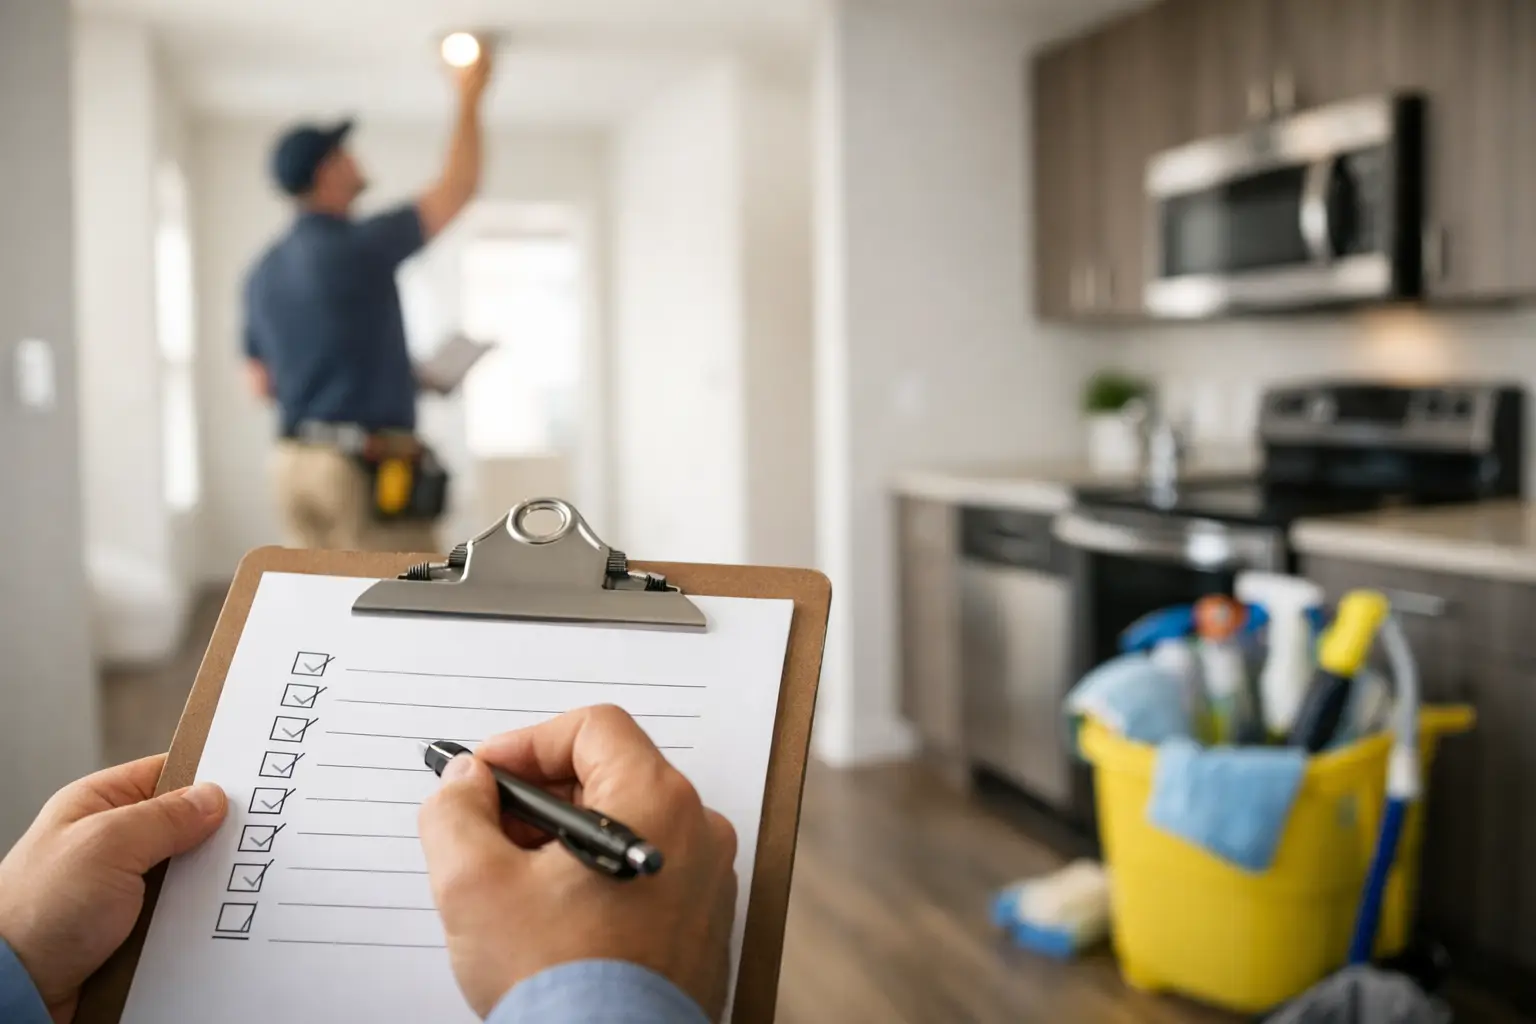
Begin the inspection as soon as the property is vacant and before cleaning, painting, or repair work starts. Take dated photos and video of every room, each exterior elevation, appliances, flooring, walls, windows, doors, and any visible damage. Open cabinets, look under sinks, test switches, and inspect areas that are easy to overlook during a quick walk-through.
Compare the unit to the move-in condition report whenever one is available. This helps separate damage that may be chargeable from ordinary use that an owner should expect to address. A faded wall, worn carpet in a high-traffic area, or aging caulk may be normal wear. Holes in doors, broken blinds, pet damage, unauthorized paint, or missing fixtures may need to be documented for a deposit review.
Do not rely on memory or a few notes on a phone. A good turnover file includes photos, written findings, repair priorities, vendor estimates when needed, and confirmation that completed work was checked. That documentation protects the owner, gives the next tenant a better starting point, and reduces disputes later.
Inspect the Unit in a Logical Order
Walk the property the same way every time. A consistent route makes it less likely that you will miss a closet, utility area, or exterior issue. Start outside, move through common spaces and bedrooms, then finish with mechanical systems and final safety checks.
Exterior, Entry, and Safety
The outside of the property sets expectations before a prospective tenant ever walks through the door. It also reveals water intrusion, access, and safety concerns that can turn into larger repairs during Florida's rainy season.
Check the following items:
- Inspect the roofline, gutters, downspouts, soffit, fascia, siding, and exterior walls for visible damage, staining, loose material, or signs of leaks.
- Check doors, locks, deadbolts, peepholes, weatherstripping, thresholds, screens, windows, garage doors, and exterior lighting for proper operation.
- Look for trip hazards at walkways, steps, handrails, porches, driveways, and parking areas. Note loose pavers, cracked concrete, damaged railings, and poor drainage.
- Review landscaping, tree limbs, fencing, gates, irrigation, trash areas, and exterior faucets. Overgrowth, standing water, and damaged fencing can affect both curb appeal and tenant safety.
- Test smoke alarms, carbon monoxide alarms where required, GFCI outlets, emergency lighting in applicable commercial or multifamily areas, and visible fire extinguishers if the property provides them.
A clean exterior does not need to mean a major renovation. It does need to look maintained, secure, and ready for a tenant to take possession without an immediate maintenance request.
Kitchen, Baths, and Plumbing
Water damage is one of the most expensive turnover surprises because it often hides inside cabinets, behind toilets, or under flooring. Run every fixture long enough to identify slow drains, leaks, weak water pressure, and inconsistent hot water.
In the kitchen, test the sink, disposal, dishwasher, refrigerator water line if present, range, oven, microwave, ventilation, cabinets, drawers, counters, and backsplash. Look under the sink for staining, soft cabinet material, corrosion, or active drips. Confirm that appliance doors close properly and that burners, controls, and lights work.
In each bathroom, flush the toilet more than once, run the tub and shower, test the exhaust fan, inspect caulk and grout, and look closely at the vanity and flooring around the toilet. A toilet that rocks, a tub that drains slowly, or deteriorated shower caulk should be handled before a new tenant moves in. These are small repairs until they are not.
Also inspect the water heater, shutoff valves, visible supply lines, hose bibs, and laundry connections. If the unit was vacant for an extended period, check for odors, dry traps, or signs that a valve has seized.
Interior Surfaces and Living Areas
A turnover inspection should answer one simple question: can a tenant move in and live comfortably without calling about unfinished basics? That means checking function as well as appearance.
Review these areas room by room:
- Inspect walls, ceilings, trim, doors, closets, shelving, blinds, windows, screens, and flooring for damage, stains, holes, moisture marks, and incomplete repairs.
- Test every light fixture, ceiling fan, outlet, switch, door latch, lock, and window. Replace burned-out bulbs and note outlets or switches that do not work.
- Check carpet for stains, odors, loose seams, burns, excessive wear, and pet damage. Evaluate hard flooring for cracked tile, lifting planks, damaged grout, and soft areas.
- Open every cabinet, closet, attic access point, and utility door. Look for pests, droppings, mold-like growth, damaged shelving, missing hardware, and signs of a prior leak.
- Confirm that keys, remotes, mailbox keys, gate fobs, pool passes, appliance manuals, and any required access items are accounted for and labeled.
Painting and cleaning should happen after repairs that could create dust, dents, or new wall damage. This sequencing matters. There is no reason to pay for a final clean twice because a repair was scheduled too late.
HVAC, Electrical, and Appliances
In Marion County, air conditioning is not an optional comfort item. A unit can look perfect and still fail a showing if the system is not cooling, draining, or circulating air correctly. Turn the HVAC on, verify temperature change at the registers, listen for unusual noise, inspect the filter, and check the condensate line and drain area for leaks or blockage.
Test appliances under normal operating conditions whenever possible. A refrigerator may power on but fail to cool. A dryer may tumble but not heat. A dishwasher may run but leak at the door seal. Record model and serial numbers for equipment that needs service, especially if the owner may have warranty coverage.
Electrical concerns deserve the same discipline. Check the panel for labeling and obvious issues, but leave panel repairs and troubleshooting to qualified professionals. Mark flickering lights, tripped breakers, warm outlets, exposed wiring, or repeated GFCI failures as priority items. They are not cosmetic fixes.
Prioritize the Work Before Scheduling It
Once the inspection is complete, sort repairs by urgency rather than simply working down the list. Safety, security, active leaks, HVAC failure, electrical problems, and sanitation issues come first. Next are functional items that affect habitability or a tenant's daily use, such as a broken appliance, damaged lock, or nonworking toilet.
Cosmetic work comes after that. Paint touch-ups, blinds, minor drywall repairs, landscaping cleanup, and hardware replacement still matter because they affect rentability, but they should not delay emergency or high-risk repairs. The right order keeps the property moving without creating rework.
For larger turnovers, assign one person to coordinate the complete scope. Fragmented scheduling is where vacancy days multiply. One vendor paints, another finds a plumbing issue, a cleaner arrives too early, and nobody confirms the final result. A single accountable team can coordinate repairs across trades, document progress with photos, and complete a final walk-through before the unit is marketed.
Finish With a Final Rent-Ready Walk-Through
The final inspection is not a repeat of the first one. It is a quality-control check after every repair, cleaning task, and vendor visit is complete. Walk the unit as a new tenant would. Turn on lights, run water, open doors, test locks, check cooling, inspect the refrigerator, and look at the unit from the curb.
Confirm that debris is removed, touch-up work is complete, smoke alarms are working, filters are replaced, and all access items are ready. Take final photos after the work is done, not just before it starts. Those photos create a clean record for the next tenancy and show the owner that the turnover was completed as promised.
R&M Services helps property owners avoid the contractor-chasing cycle by handling make-ready repairs, trade coordination, documentation, and final quality checks through one local team. Whether the unit needs a short punch list or a full turnover, clear inspection findings make faster decisions possible.
The best time to catch a vacancy-killing repair is before the next showing is scheduled. A disciplined inspection gives every turnover a clear starting point, a workable plan, and a better chance of getting the property rent-ready without last-minute surprises.